Introduction
There exist a large number of excellent resources for game developers seeking to learn how to utilise the in-built AI features in Unreal Engine 4. Unfortunately, a number of these are outdated or teach only specific elements or are part of large tutorial series or assume knowledge that you might not have.
This blog series aims to provide context and teach best practices for utilising the AI systems available in Unreal Engine 4 (version 4.17). It is aimed at beginning-to-intermediate developers, covering both C++ and Blueprint usage of AI. Each post will show Blueprint scripts first and then show how to achieve the same results in C++.
It is assumed that you have basic understanding of how to use the engine and editor and have, at least, followed the official Blueprint or Programming Quick Start Guides.
Goal
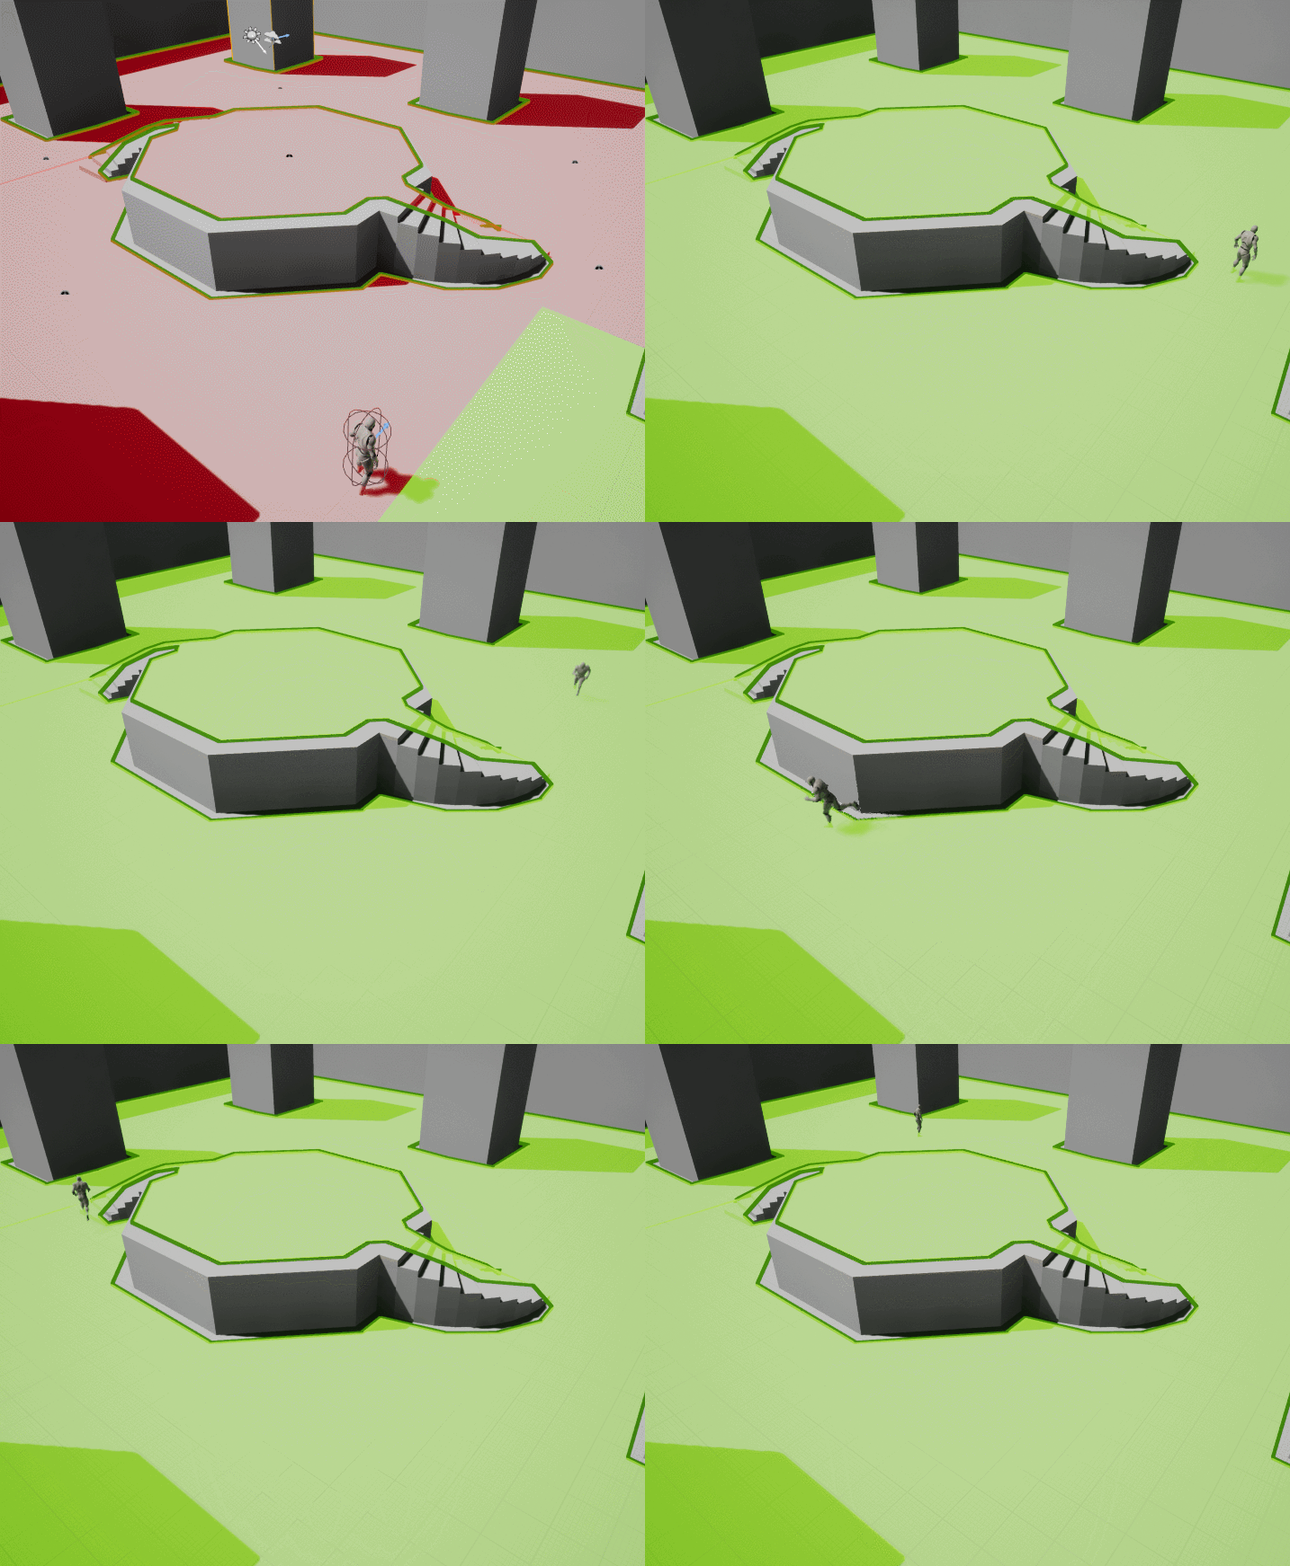
Over the next few blog posts, we're going to build an AI-only "Game of Tag" demo project.
We'll do this one step at a time, starting with an (almost) entirely blank project, and then building up the demo with proper usage of the Unreal Engine Gameplay Framework.
This first post will look at how we can get our AI to move. We'll be using the Unreal Engine Navigation System to do so.
Setting Up the Project
Download the provided project template.
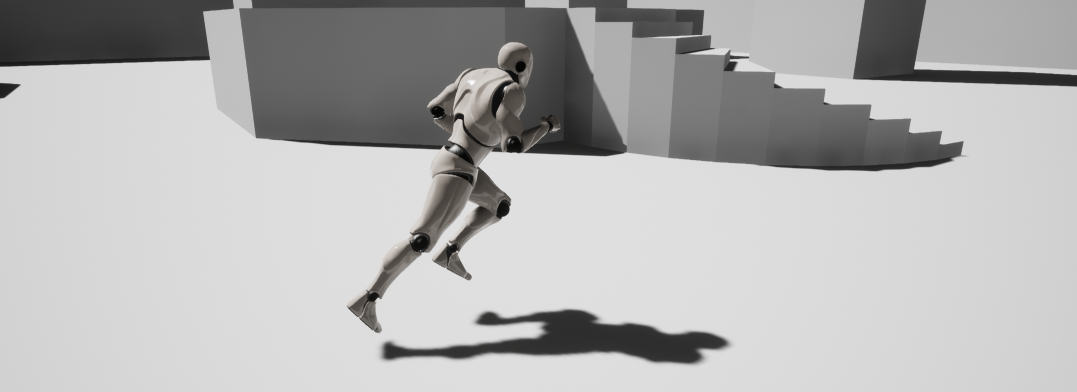
This minimised project file includes the mannequin (from the UE4 templates) and a basic Character blueprint (BP_TagCharacter) with the Mesh and Animation Blueprint setup (and correctly scaled/rotated components), and a rudimentary geometry-based level for testing purposes.
Alternatively, if you are using git, you can access the project from the Bitbucket repository. The initial download commit has the template tag, and the state of the codebase at the end of any blog post is also tagged with the name of the post (e.g. basic-navigation).
Before we do anything advanced, lets take a small step first - making our AI Characters walk around using the UE4 Navigation System.
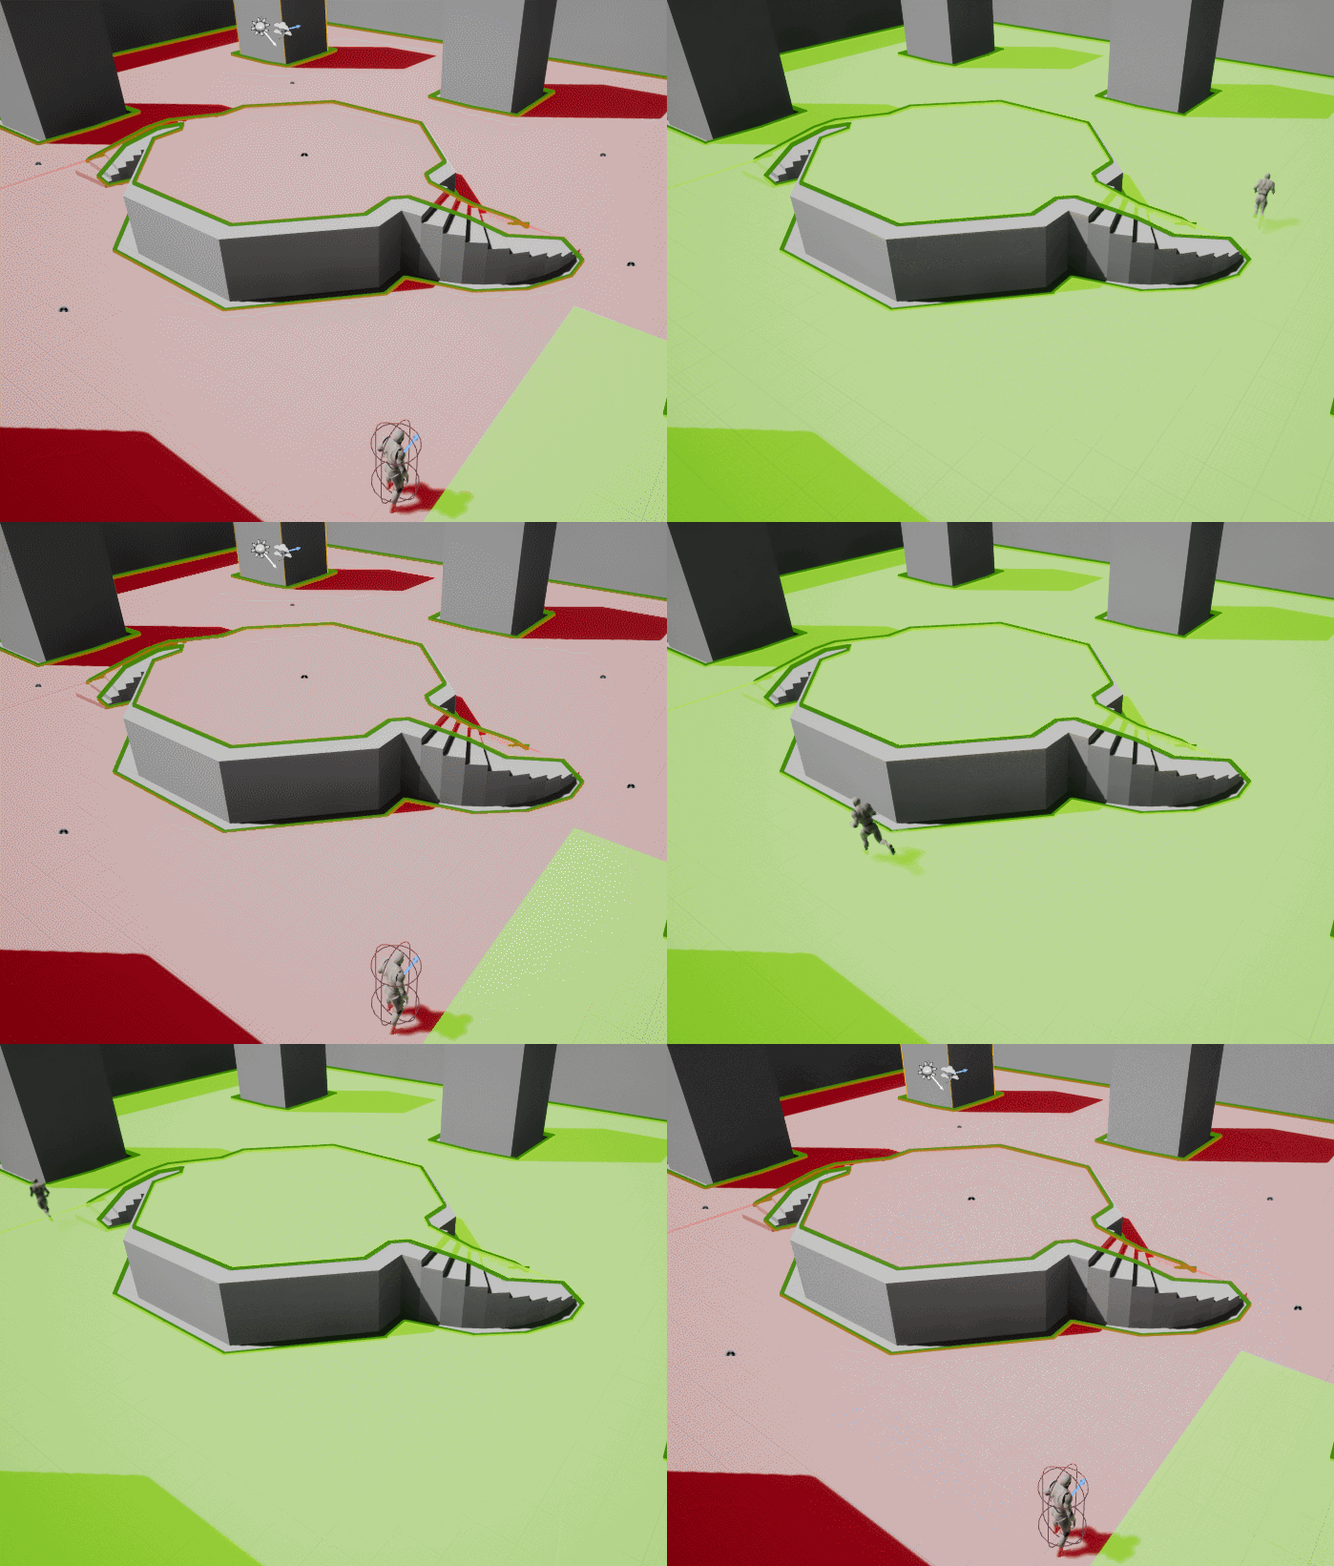
The Unreal Engine navigation system utilises a Nav Mesh (Navigation Mesh) to know where the walkable sections of our level are. To tell UE4 to build a nav mesh, let's go ahead and add a Nav Mesh Bounds Volume to the level, and resize it so that it fits all of the walkable space in our level!
Once you've fit the bounds, press P to make the Nav Mesh visible.
When you add the Volume to the level, you'll notice that a RecastNavMesh-Default actor was added as well. This actor has settings we can use to visualise different elements of our NavMesh, and we can also tweak how it's generated.
We should start by setting up the Agent Radius and Height to be 44.0 and 192.0 to match our Character. This will cause the NavMesh to properly identify all of the walkable areas of our game for our specific Character size.
Once we've done that, we can edit the Cell Size from 19.0 to 5.0 to improve the accuracy of the walkable space available (especially on our stairs):
| Cell Size 19.0 | Cell Size 5.0 |
|---|---|
This does take some more time to generate the NavMesh, so it's not perfectly suitable for all games, but for our demo this will be fine.
Note: Test your Nav Mesh now. It may not properly appear (or may disappear when you simulate the game). If this is the case, close and re-open your project and force the mesh to rebuild (by moving it a bit, then shift it back). This is likely due to strange interactions with BSP/Geometry based levels. Ensure that your nav mesh appears as in the picture above, and that it is still visible if you Simulate (Alt+S) the game
Moving Around
Our next step is to get a single AI Character into the game and moving around. To do this properly, we're going to create a custom AI Controller class which will pick a random "waypoint" and move the AI there, and then wait before continuing again.
Let's first set up our "Waypoints" around the map. To make this quick and easy, drag in a few Target Point actors into various locations around our map:
We're then going to create a new Class based on the AI Controller class to control our AI. The following instructions are given both in Blueprint and C++, so pick which one you want to work with.
Tip: An AIController is used as the "brain" of a Pawn or Character. Much like a PlayerController, it mainly is concerned with determining what the Character wants to do next, rather than whether it can (i.e. Controllers should contain Input/Intelligence, and Pawns should contain Game Logic).
Blueprint: AI Controller
Create a new Blueprint Class, and when asked for the Parent Class, go into the All Classes section, select AI Controller, and create our BP_TagController.
The first thing that our Tag Controller should do is find and store a reference to all of the Waypoints in our level. We can do this using the Get All Actors Of Class node:
We then want to be able to Get Random Waypoint, so lets create a function which does exactly that (Note: I marked this function Pure as it does not change any State):
Finally, we're going to Go To Random Waypoint a lot, so lets create that function, and call it on Begin Play.
But what goes into this function? This is where we start using the UE4 Navigation system. We actually have 4 options for which node to use, depending on whether we want to move to an Actor or Location, and whether we want to use a simple version of the function or one with all of the details:
For now, we're just going to use the simplest possible variation - Simple Move to Actor, and feed in a random waypoint:
And our basic Controller is all done!
END ACCORDION
C++: AI Controller
Create a new C++ class based on the AIController class called TagController. You will need to check Show All Classes.
Tip: whenever I mention an Unreal Engine API class or function, I will link it directly to any available online documentation. Go ahead and click on
AIControllerto learn about what we're overriding.
Our AI is rather simple, all we need is to override the BeginPlay() function, and to create the following UFUNCTION's and UPROPERTY.
Note: Every time you use an Unreal Engine class, you need to
#includeit, they are not included by default. Don't forget to#include "Runtime/Engine/Classes/Engine/TargetPoint.h"
public:
    void BeginPlay() override;

private:
    UPROPERTY()
        TArray<AActor*> Waypoints;

    UFUNCTION()
        ATargetPoint* GetRandomWaypoint();

    UFUNCTION()
        void GoToRandomWaypoint();
Now lets fill in our functions.
Firstly, Begin Play will store all of the Waypoints in the game. To do this, we're going to use UGameplayStatics::GetAllActorsOfClass, as per the second answer on this answerhub question.
Then, all we need to do is call GoToRandomWaypoint, which we will fill in shortly.
Again, you'll need to include a new header file. This time you want to
#include "Runtime/Engine/Classes/Kismet/GameplayStatics.h"
void ATagController::BeginPlay()
{
    Super::BeginPlay();

    UGameplayStatics::GetAllActorsOfClass(GetWorld(), ATargetPoint::StaticClass(), Waypoints);

    GoToRandomWaypoint();
}
Note: Don't forget to call
Super::BeginPlay()If you don't - your character will never move, and you'll spend hours trying to figure out what you forgot!
Before we can GoToRandomWaypoint, we need to GetRandomWaypoint, so lets use UE4's FMath library to do so. We're also going to Cast our return value so that it's the correct type:
ATargetPoint* ATagController::GetRandomWaypoint()
{
    auto index = FMath::RandRange(0, Waypoints.Num() - 1);
    return Cast<ATargetPoint>(Waypoints[index]);
}
Finally, lets fill in the GoToRandomWaypoint function. This has a few options from the AIController - MoveTo, MoveToActor, and MoveToLocation.
We're going to use the simplest possible option for now - MoveToActor, with all of the default arguments:
void ATagController::GoToRandomWaypoint()
{
    MoveToActor(GetRandomWaypoint());
}
And that's it!
END ACCORDION
Using the Controller
Now that we've got our "brain" built, it's time to fit it into our "body".
To do so, open up the BP_TagCharacter and look for the Pawn's AI Controller Class variable, and set it to your custom controller:
Compile, save, and drag an instance of the Character into the scene. Run, and you should have an AI that runs to a random waypoint! Make sure to stop and start a few times to test it out fully!

Adding further movement
At this point, we've covered everything required to make our AI move around the map, but our bot is a little stupid right now. Let's make it a little bit smarter by making it wait a short while once it reaches its destination, before picking and moving to another random waypoint.
Again, this section is split up for Blueprints and C++.
Blueprint: ReceiveMoveCompleted
To do this, we're going to need to know when the AI has completed moving. We can do this by binding a custom event to ReceiveMoveCompleted. We want to bind the event on Begin Play (so that when we finish any movement in the game it is called), so add it like so:
This custom event will be triggered by UE4 whenever any navigation movement finishes, as long as the bind node ran first.
Note: To be fully correct, you want to bind the event before calling
Go To Random Waypoint. This is wise in case the movement fails for any reason (such as you forgetting to put in Target Point actors), because the Result struct will provide you with debugging information.
Once movement finishes, we should wait a short while, and then call Go To Random Waypoint again.
END ACCORDION
C++: OnMoveCompleted
In C++, doing something immediately when a move is completed is even easier than in Blueprints - thanks to the AIController::OnMoveCompleted virtual function!
All we need to do is overwrite the function in our header file:
public:
    void OnMoveCompleted(FAIRequestID RequestID, const FPathFollowingResult& Result) override;
And if we didn't want to wait a second once we reached our target, the function implementation would be trivial!
void ATagController::OnMoveCompleted(FAIRequestID RequestID, const FPathFollowingResult & Result)
{
    Super::OnMoveCompleted(RequestID, Result);

    GoToRandomWaypoint();
}
But adding the equivalent of a Delay node for 1 second is a touch tricky - we're going to need to use an FTimerHandle.
Add one to your header file:
private:
    FTimerHandle TimerHandle;
And we can then use the SetTimer function to call GoToRandomWaypoint after a second, rather than directly calling it ourselves:
void ATagController::OnMoveCompleted(FAIRequestID RequestID, const FPathFollowingResult & Result)
{
    Super::OnMoveCompleted(RequestID, Result);

    GetWorldTimerManager().SetTimer(TimerHandle, this, &ATagController::GoToRandomWaypoint, 1.0f, false);
}
Note: The
GetWorldTimerManager()function may give you a warning of "incomplete type is not allowed" - but it will compile and work perfectly.
END ACCORDION
Wrapping up
We now have the basics set up to control a Pawn, and move it around the level using AI!

In the next post, we look at how we can extend our NavMesh with off-mesh Links, and how to change the "cost" of moving through a section to make AI prefer one path over another.
Tip: You can view lots of information about your NavMesh and whether your AI can get from one point to another by using the Navigation Testing Actor. To use them, drag two into your level, and on one of the instances, select the other instance as the
Other Actor.You can subscribe to this blog using any old RSS reader, if it tickles your fancy to follow along! Just plug
https://vikram.codes/bloginto your RSS reader of choice and it should work.
